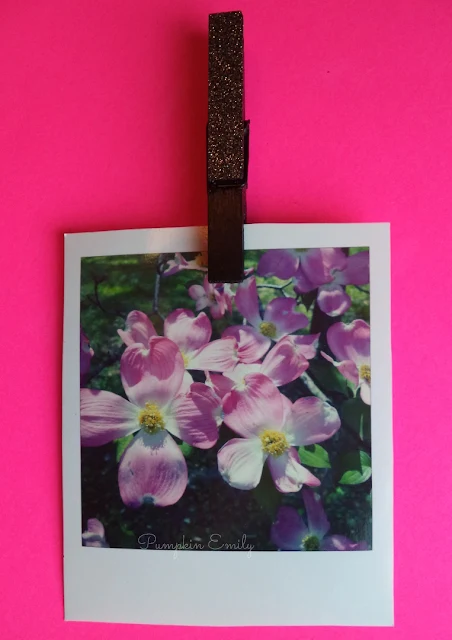
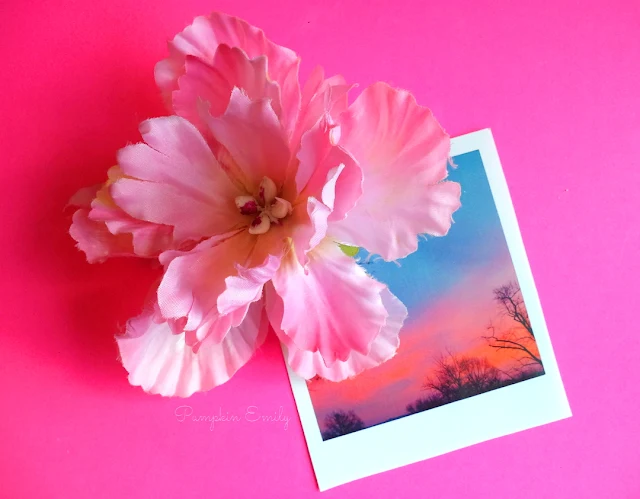
Hello! Today, I'm going to show you how to make five different DIY magnets. All of these are really cute and really easy to do. They're all really great for your refrigerator or your locker.
DIY Clothespin Magnet
You will need
colored tape like washi tape
scissors
paint
paintbrush
clothes pin
magnet
glue gun
Paint the clothes pin any color you want.
When dry, put the colored tape onto the long piece of the clothes pin and cut anything off that is not attached to the clothes pin.
Then, you can glue the magnet on with the glue gun on the side of the clothes pin with no tape on it.
DIY Flower Magnet
You will need
a fake flower
scissors or wire cutters
glue gun
and a magnet
You can cut the stem off of the flower with scissors or wire cutters.
To make the the bottom of the flower flat take scissors and cut off the extra stem. Make sure you keep a little bit of the stem there so the flower stays together.
Then, glue the flower to the magnet. You can add some extra glue between the flower and magnet if needed.
DIY Painted Magnet
You will need
a wooden square
a magnet
paint
paintbrush
glue gun
pencil
Paint the wooden square.
When the paint is done drying, draw on your design. I drew a cactus in a pot.
Then, paint the design in.
Lastly glue the magnet on to the back of the wooden square with the glue gun.
DIY Tangram Magnets
You will need
cardboard
scissors or an x-acto knife
paint
paintbrush
glue gun
magnets
Here's the link to the template for this DIY right here.
All you have to do is click on the link and right click on the image and download it or you can print right there in your browser. Note you may need to resize it before printing.
Cut out all of the pieces.
Then paint all of the pieces multiple colors or one color.
When all of the pieces are dry, glue on the magnets with the glue gun.
and that's it for this diy lets go on to the last diy
DIY Picture Magnet
You will need
a wooden square
a magnet
paint
paintbrush
glue gun
scissors
a piece of paper for the picture
glue
Paint the wooden square.
Print and cut out your image onto a piece of paper.
When the paint is done drying, glue on the picture with normal glue to the side that was painted.
The last thing you have to do is glue the magnet on to the back of the wooden square with the glue gun.
That's it for all of these DIY's! In the comments down below let me know what you think about these DIY.


Post a Comment
Hello! Thanks for your comment! I love to read your comments and I hope you enjoyed reading this post. Make sure to come back to see if I replied back and for new posts. If your comment is spam I'll most likely delete it.