Hey there! I wanted to make a Christmas tree so I thought why not make the tree with a wood tree from the dollar store. It ended up being really easy to make and it looks very beautiful.
I bought the wood Christmas tree from Family Dollar and I had some flower picks and plaid ribbon from last year. I also had a wood ornament that I used to have everything sit on but you can use whatever you would like just as long as it can hold everything you want to put on it.
You can decorate your tree however you would like. For instance, you can put a pattern on the tree or you can add a star to the top of the tree instead of a bow. Also if you can't find the wood tree at Family Dollar you can find similar ones at Dollar Tree or other stores.
If you would like to learn how to make this DIY you watch the video below or you can read on.
What you're going to need:
A wood tree from Dollar Tree, Family Dollar, or from somewhere else.
A base for your tree like a wood circle ornament or a wood block.
Acrylic paint
Paintbrush
Flower picks
Ribbon
Hot glue
Wire cutters
Scissors
1. You want to start of by painting a wood tree any color that you would like with acrylic paint.
2. When you're done painting the tree, you want to wait for it to dry.

I ended up using a wood circle ornament but you can use whatever you would like but you need it to be big enough for the tree and anything you would to put on the tree.
4. You want to put hot glue on the bottom of your tree and you want to place it in about the middle of the base standing up straight before the glue dries.

5. If you haven't already you can cut off the twine at the top of the tree with scissors.

6. The next thing you want to do is that you want to cut or pull off what you would like to go on your tree from flower picks. You can use scissors or wire cutters to cut off what you want to use. I used wire cutters.
I decided to put berries, leaves, pinecones, and a red bird on my tree.

7. Once you have everything for your tree, you want to glue everything on the base or on the tree with hot glue.
The way how I started gluing on my stuff is by starting with the berries and pinecones first.

Then I glued the red bird on the top of the pinecones and the leaves under the pinecones. I pulled the leaves off of the flower picks and cut them into separate leaves before I glued them on.

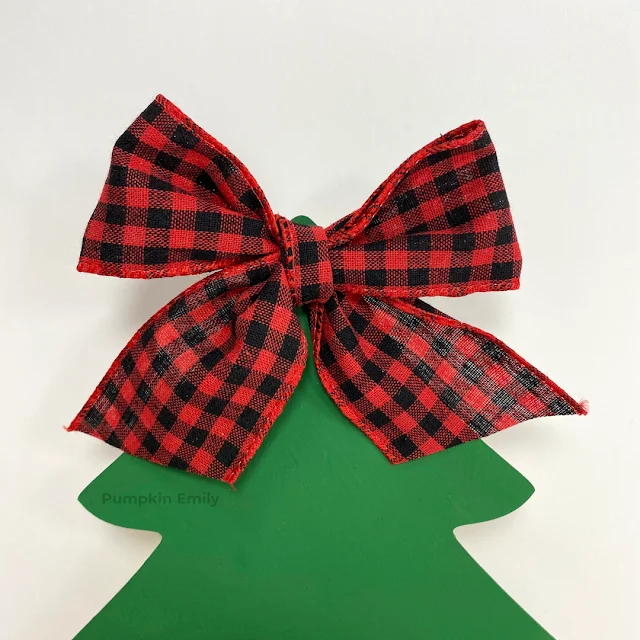
8. The last thing you want to do is that you want to to tie a bow out of ribbon and glue the bow on the top of the tree.
9. You can also add some more glue on the back of tree and on the base so it's secured better on the base.
Then you're all done.

That's how you make a wooden Christmas tree!
I absolutely love how this tree came out. I think it's my favorite DIY that I made in the year 2022.

Here's some close up pictures of the plaid bow I used and the bottom of the tree.


My favorite thing about this tree is the bottom. I love the red bird, berries, and the pinecones.
What do you think about this Christmas tree DIY?


Post a Comment
Hello! Thanks for your comment! I love to read your comments and I hope you enjoyed reading this post. Make sure to come back to see if I replied back and for new posts. If your comment is spam I'll most likely delete it.